Template:UGSensorVoltageRatioInputUnitless: Difference between revisions
From Phidgets Support
No edit summary |
No edit summary |
||
| Line 6: | Line 6: | ||
{{UGExampleDescription}} | {{UGExampleDescription}} | ||
*Modify the change trigger and/or data interval value by dragging the sliders. For more information on these settings, see the [[Data_Rate_and_Change_Trigger|data interval/change trigger]] page. | *Modify the change trigger and/or data interval value by dragging the sliders. For more information on these settings, see the [[Data_Rate_and_Change_Trigger|data interval/change trigger]] page. | ||
* | *Select the {{{1}} from the ''Sensor Type'' drop-down menu. The ''Sensor Value'' will now return a value between {{{2}}}. {{{3}}} | ||
<br clear="all"> | <br clear="all"> | ||
Revision as of 15:59, 16 June 2017
Voltage Ratio Input
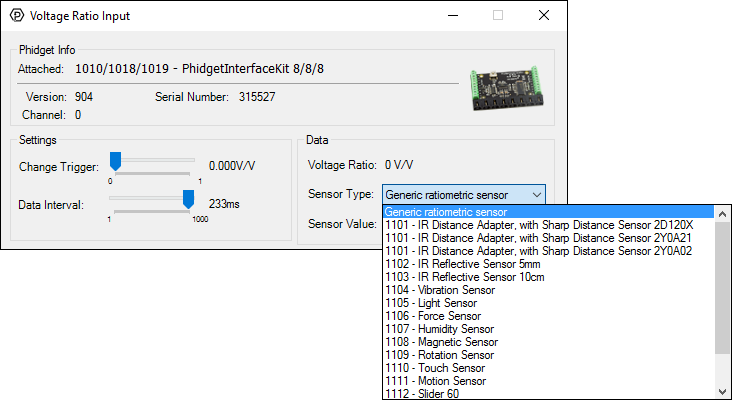
Double-click on a Voltage Ratio Input object in order to run the example:

General information about the selected object will be displayed at the top of the window. You can also experiment with the following functionality:
- Modify the change trigger and/or data interval value by dragging the sliders. For more information on these settings, see the data interval/change trigger page.
- Select the {Template:1 from the Sensor Type drop-down menu. The Sensor Value will now return a value between {{{2}}}. {{{3}}}
