ENC4109 User Guide: Difference between revisions
From Phidgets Support
No edit summary |
|||
| (2 intermediate revisions by 2 users not shown) | |||
| Line 1: | Line 1: | ||
__NOINDEX__ | |||
<metadesc>The Phidget Encoder fits on the rear shaft of our stepper and DC motors. Measure the rotation of your stepper even when it missteps.</metadesc> | <metadesc>The Phidget Encoder fits on the rear shaft of our stepper and DC motors. Measure the rotation of your stepper even when it missteps.</metadesc> | ||
[[Category:UserGuide]] | [[Category:UserGuide]] | ||
| Line 22: | Line 23: | ||
===Connecting the Pieces=== | ===Connecting the Pieces=== | ||
{{UGbox| | {{UGbox| | ||
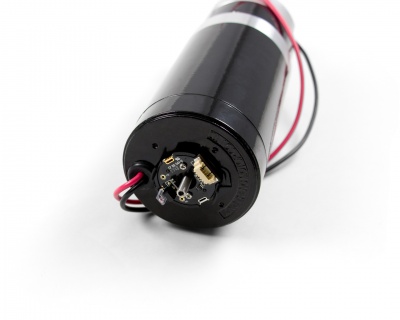
Take the plastic base, the encoder PCB, and two screws. Use the 8mm screws if they fit your motor, or the 6mm screws if those are too long. Place the PCB inside the base in the orientation shown above so that it fits in. Place the combined base and PCB on the back of the motor such that the mounting holes line up with the holes in the base. There are two orientations possible- use whichever is more convenient for motor wiring. Place the screws in the two holes in the PCB and screw until the base and PCB are firmly attached, being careful not to over-tighten and damage the pieces. | Take the plastic base, the encoder PCB, and two screws. Use the longer 8mm screws if they fit your motor, or the 6mm screws if those are too long. Place the PCB inside the base in the orientation shown above so that it fits in. Place the combined base and PCB on the back of the motor such that the mounting holes line up with the holes in the base. There are two orientations possible- use whichever is more convenient for motor wiring. Place the screws in the two holes in the PCB and screw until the base and PCB are firmly attached, being careful not to over-tighten and damage the pieces. | ||
| | | | ||
[[File:ENC4109_Connection1.jpg|400px|link=]] | [[File:ENC4109_Connection1.jpg|400px|link=]] | ||
| | | | ||
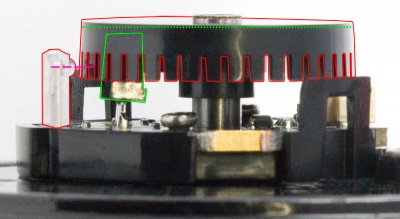
Take the plastic encoder wheel and place it on the shaft with the comb-shaped edge facing the motor. Slowly slide the wheel onto the shaft until the combs are | Take the plastic encoder wheel and place it on the shaft with the comb-shaped edge facing the motor. Slowly slide the wheel onto the shaft until the combs are aligned with the bubble on the optical sensor (Outlined in red below). Be careful not to push so far that the wheel is contacting components on the PCB (outlined in green below). | ||
[[File:ENC4109_Connection2b.jpg|400px|link={{SERVER}}/docs/images/f/f6/ENC4109_Connection2b.jpg]] | |||
| | | | ||
[[File:ENC4109_Connection2.jpg|400px|link=]] | [[File:ENC4109_Connection2.jpg|400px|link=]] | ||
Latest revision as of 20:32, 3 July 2018
Getting Started
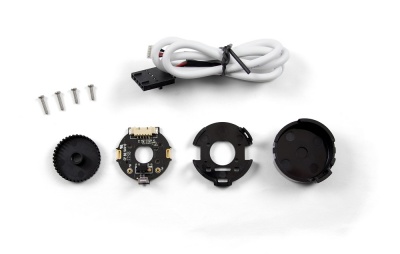
Checking the Contents
|
You should have received:
|
In order to test your new Phidget you will also need:
| |
Connecting the Pieces
|
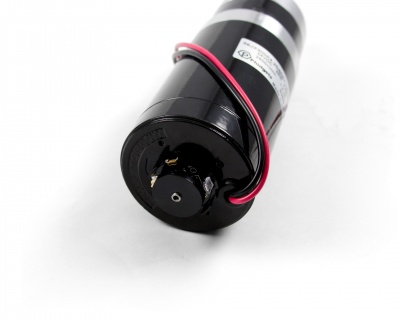
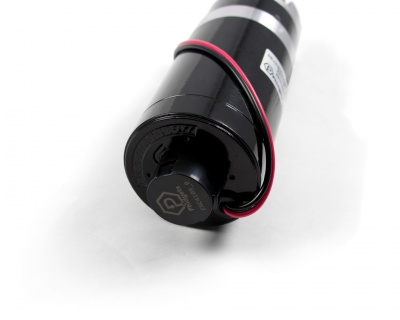
Take the plastic cap and align the hole with the white connector. Press the cap on so that the tabs on either side click in. |
| |
|
Attach the cable to the white connector. You may need to push on either side with your fingernail or a screwdriver to ensure that it's fully inserted. |
| |
|
For further instructions, visit the user guide for the motor controller and encoder interface Phidget that you're using. |
|

