Calibrating Load Cells
Analog sensors work by measuring a real world parameter such as temperature, pressure or weight and converting it into an analog voltage that is measurable by your computer. Once the computer has this voltage you can perform a calculation in your program to convert it back into units you can work with (e.g. °C, kPa, or kg). Many sensors will include a formula in their documentation that describes this relationship between its voltage output and the measured quantity. This is a reasonable solution when the part to part variance in a product line is very low, but it is often high enough that a formula that is exactly correct for one sensor may be inaccurate for another sensor of the same model. To solve this problem we generally recommend that you generate your own formula for each individual sensor you are using in your project. This process, called calibration, is a very important step to achieve maximum accuracy.
How to Calibrate a Sensor
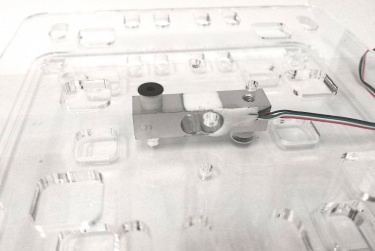
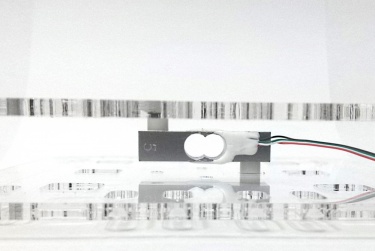
In the general sense, the relationship between the output voltage of the sensor and the measured parameter can be described by some function f(x). In order to determine what f(x) for a given sensor is, we first have to obtain some data. As an example, we'll use a load cell. Load cells are sensors that measure weight, and they always require some amount of calibration. Here I have assembled a simple scale with a load cell rated for a maximum weight of 5kg. You should always fully install the sensor in whichever system or application you intend to use it in before calibrating, just in case certain aspects of the construction have an effect on the measurements.
 |
|
To begin calibration, I will take a number of data points with objects that I know the weight of already. Normally you might want to use an actual precise set of weights, but weighing these objects with a fairly precise electronic scale was good enough for my purposes. The more data points you take, the more accurate your final formula will be but this can be time consuming and impractical for a large number of sensors. Looking at the graph of the data however, we can see that the data appears to be very linear.
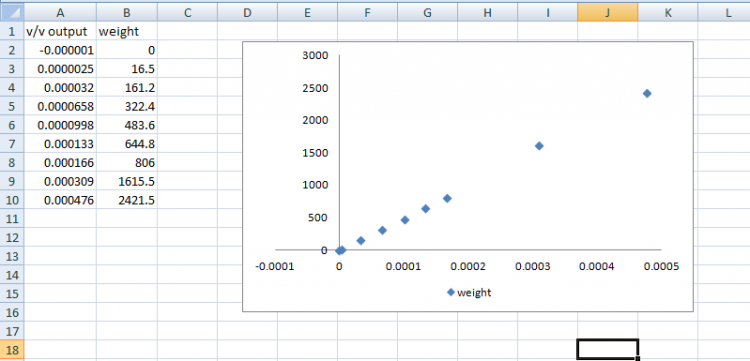
This leads us to a major shortcut in calibrating a sensor: 2-point calibration. Whenever possible, analog sensors are designed to have a linear response like this. It's a massive simplification since you only need to take 2 data points in order to have a reasonably accurate trendline. Since we have all the data already, let's determine the equation that best fits this data. In a spreadsheet application like Excel this is an easy, automated process.
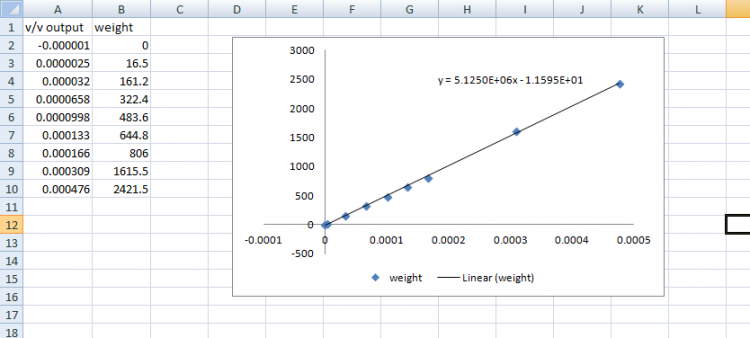
I have generated this trendline using Excel's built in linear regression function and you can see that the line fits the data quite closely. So we now have our function f(x):
Where x is our measured V/V from the load cell and f(x) is the calculated weight. These measurements are in grams but notice that there are no units in my data points or the resultant graph or trendline. This is one of the nice things about the process, it works for any unit. The formula we end up with will convert our measured voltage into the same unit that we use to take the data points initially be it pounds or grams or tons.
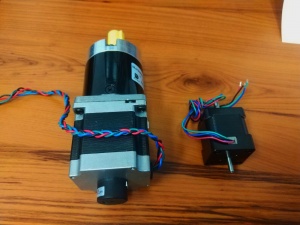
As a quick example to prove this has actually worked, let's take a new object we know the weight of and see that the formula spits out the right number. These 2 motors have a combined weight of 1810g:
When applied to the load cell I measure 0.00035 V/V:
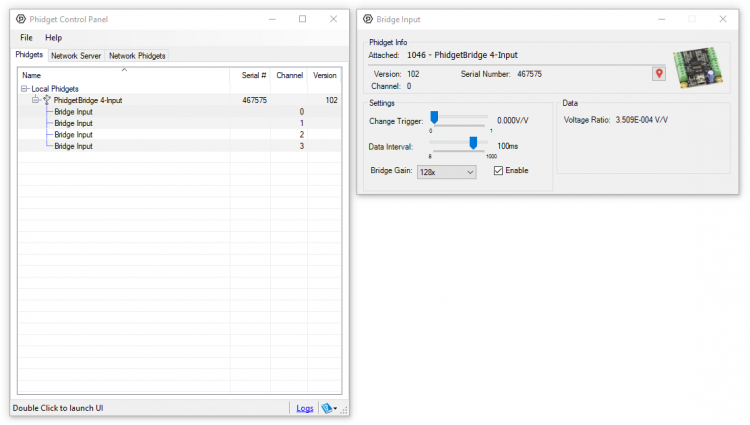
Plugging this number into our formula we get a weight of 5.125E6*0.00035 - 1.1595 = 1792.6g which is within 20g of our expected weight. For a 5kg load cell this result is accurate to about 0.4%. Not too bad. We could improve this with more calibration points, more accurate weights of the measured objects, by using more of the load cell's range (we only went up to about 2.5kg here), or more decimal points on the measurements we took from the device.
Now to show that we can make this a bit simpler, let's try a 2-point calibration for the same load cell. I will use the same data collected previously, but I will only use the highest and lowest points instead of making a trendline in Excel. When doing a 2-point calibration, you usually want to use 1 point from rest (0 weight in this case) and 1 point from the highest value you expect to see (I will be using the point from ~2.5kg from before):
| : | : |
Then we can try a test case to determine our b parameters for a y=mx+b style linear equation using one of our data points:
Solving for b gives us 5.07652, so our final equation is:
Not exactly the same as our initial formula, but let's have a look at the results. With this new formula let's try the same conversion as before with a measurement of 0.00035V/V. This gives 5.0765E6*0.00035 + 5.07652 = 1781.9g which is a comparable result for much less time spent taking measurements. The greater the non-linearity in our sensor the more unreliable this will become, but for most sensors the non-linearity will be lower than the overall accuracy of the sensor so you can effectively ignore effects from non-linearity.


